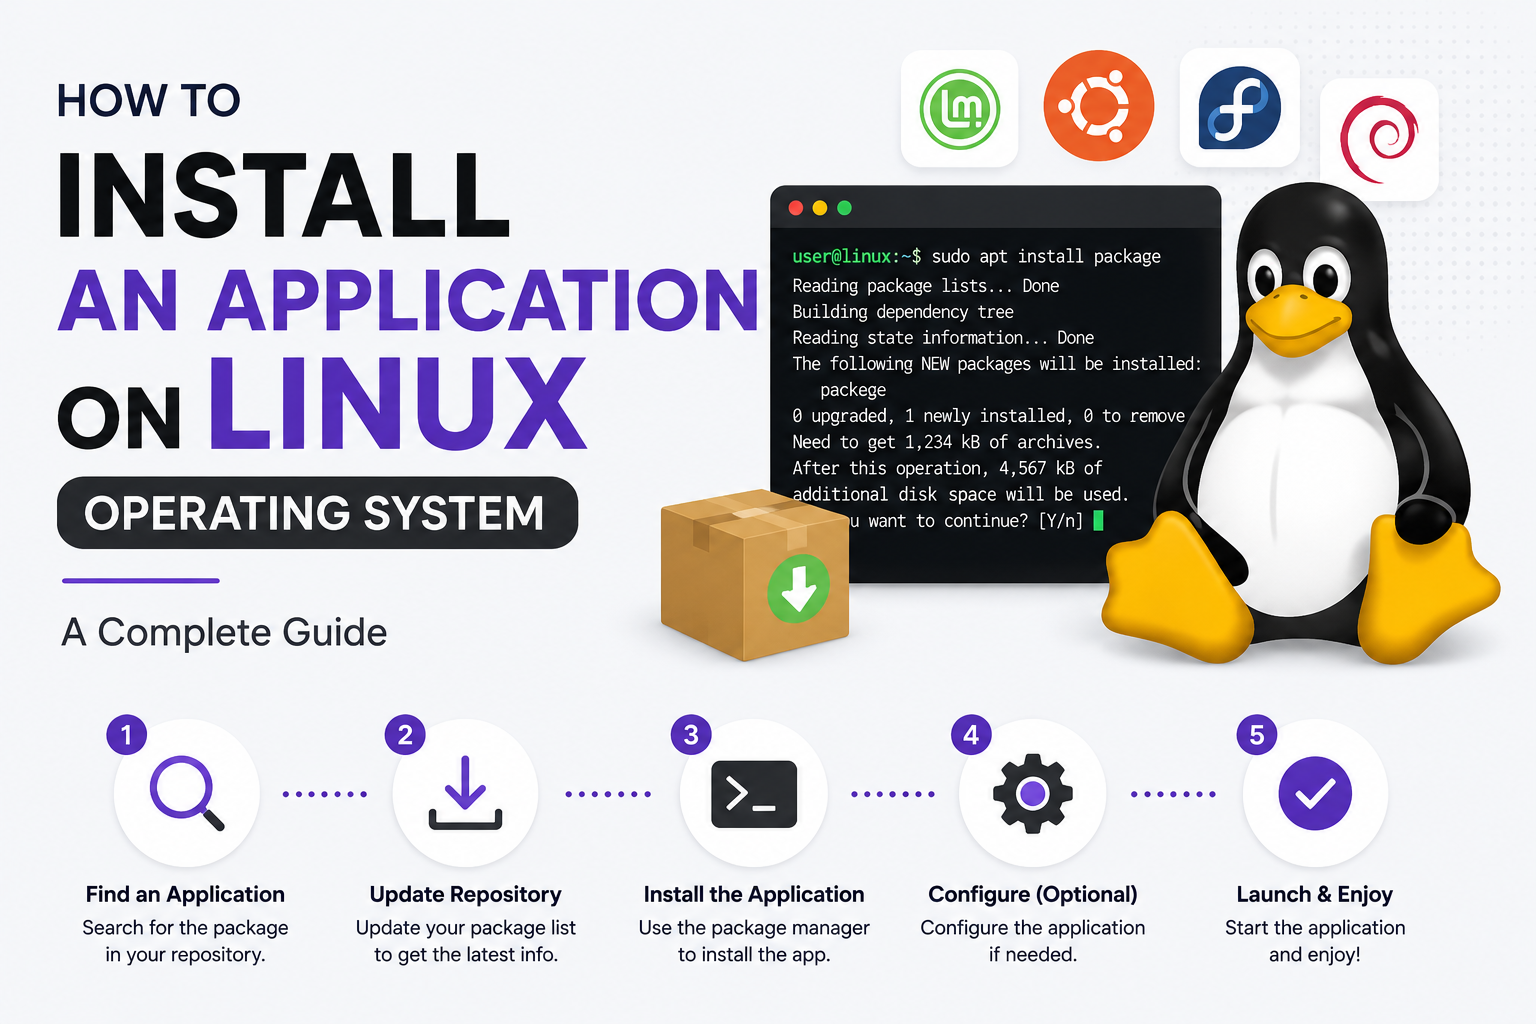
The Linux operating system is famous for its performance, customization options, security, and open-source flexibility. However, newcomers transitioning from Windows or macOS often face a learning curve when installing software. While Windows relies heavily on .exe files and macOS uses .dmg packages, Linux provides a diverse range of installation methods—from automated GUI app stores and command-line package managers to universal cross-distribution packages and source code compilation.
Whether you are using Ubuntu, Linux Mint, Fedora, Arch Linux, or Debian, understanding how to install an application on the Linux operating system is a fundamental skill.
This comprehensive guide covers every major method to install software on Linux step by step, along with pre-installation checks, post-installation maintenance, and quick troubleshooting tips.
Understanding Linux Package Formats & Distribution Families
Unlike single-ecosystem operating systems, Linux is divided into different distribution “families.” Each family uses a distinct package format and native software manager:
+-----------------------------------------------------------------------+
|                    LINUX DISTRIBUTION FAMILIES                        |
+-----------------------------------------------------------------------+
|                                                                       |
|   1. Debian / Ubuntu Family      ---> Package: .deb  | Manager: APT   |
|                                                                       |
|   2. Red Hat / Fedora Family     ---> Package: .rpm  | Manager: DNF   |
|                                                                       |
|   3. Arch Linux Family           ---> Package: .pkg  | Manager: Pacman|
|                                                                       |
|   4. Universal Formats (All)     ---> Snap, Flatpak, AppImage         |
|                                                                       |
+-----------------------------------------------------------------------+
Before installing an application, confirm which Linux distribution family you are using by running the following command in your terminal:
cat /etc/os-release
Method 1: Installing Software via Graphical Software Centers (Beginner-Friendly)
If you prefer a mouse-driven experience similar to the Google Play Store or iOS App Store, modern Linux distributions ship with intuitive Graphical Software Centers (such as Ubuntu Software, GNOME Software, or KDE Discover).
+-----------------------------------------------------------------------+
|                   GUI SOFTWARE CENTER INSTALLATION                    |
+-----------------------------------------------------------------------+
|                                                                       |
|   1. Open Software Center (e.g., GNOME Software / App Center)         |
|                                                                       |
|   2. Search for Application Name in Search Bar                        |
|                                                                       |
|   3. Click 'Install' & Enter Administrator / Sudo Password            |
|                                                                       |
|   4. Launch Application from App Grid or Desktop Menu                 |
|                                                                       |
+-----------------------------------------------------------------------+
Step 1: Launch the Software Center
Click your system’s App Menu or Activities Overview and open Software, App Center, or Software Manager.
Step 2: Search for the Desired Program
Use the search bar at the top to type the application name (e.g., VLC Media Player, GIMP, Inkscape, or VS Code).
Step 3: Review App Details and Click Install
Select the app card to review ratings, software descriptions, version numbers, and developer details. Click the blue Install button.
Step 4: Authenticate with Administrative Credentials
Linux requires superuser permissions to install software. Enter your user account password when prompted and click Authenticate.
Step 5: Launch Your Application
Once the installation progress bar completes, click Open inside the software store or locate the new shortcut in your application drawer.
Method 2: Installing Software via Native Package Managers (Terminal / CLI)
Command-line package managers automatically fetch software binaries from official online repositories, handle system dependencies, and install everything cleanly with a single command.
+-----------------------------------------------------------------------+
|                   PACKAGE MANAGER CLI WORKFLOW                        |
+-----------------------------------------------------------------------+
|                                                                       |
|   1. Open Terminal (Ctrl + Alt + T)                                   |
|                                                                       |
|   2. Update local repository package lists                            |
|                                                                       |
|   3. Run distribution-specific install command (apt, dnf, pacman)     |
|                                                                       |
|   4. Enter sudo password & confirm installation prompts               |
|                                                                       |
+-----------------------------------------------------------------------+
1. Debian, Ubuntu, and Linux Mint (apt)
For Debian-based systems utilizing .deb packages:
# Step 1: Update repository lists
sudo apt update

# Step 2: Install software
sudo apt install application-name

# Example: Installing VLC
sudo apt install vlc
2. Fedora, RHEL, and CentOS (dnf)
For Red Hat family distributions using .rpm packages:
# Step 1: Update repository lists
sudo dnf check-update

# Step 2: Install software
sudo dnf install application-name

# Example: Installing GIMP
sudo dnf install gimp
3. Arch Linux, Manjaro, and EndeavourOS (pacman)
For Arch-based distributions using rolling release packages:
# Step 1: Synchronize package database and upgrade system
sudo pacman -Syu

# Step 2: Install software
sudo pacman -S application-name

# Example: Installing Firefox
sudo pacman -S firefox
Method 3: Installing Standalone Package Files (.deb and .rpm)
Sometimes developers provide direct download installer files on their websites instead of adding them to central repositories (e.g., Google Chrome or Zoom).
Installing .deb Packages on Ubuntu / Debian
-
Download the
.debfile from the official software site to your Downloads folder. -
Open your terminal (
Ctrl + Alt + T) and navigate to the directory:Bashcd ~/Downloads -
Install the package using
apt:Bashsudo apt install ./filename.deb(Using
aptautomatically resolves and downloads any missing sub-dependencies).
Installing .rpm Packages on Fedora / RHEL
-
Download the
.rpmpackage file to your Downloads folder. -
Navigate to your Downloads folder in terminal and execute:
Bashsudo dnf install ./filename.rpm
Method 4: Universal Cross-Distribution Software Formats
Universal Linux packages contain all required libraries bundled inside isolated containers, allowing them to run seamlessly across any Linux distribution.
+-----------------------------------------------------------------------+
|                    UNIVERSAL LINUX PACKAGE TYPES                      |
+-----------------------------------------------------------------------+
|                                                                       |
|   [1] Snap Files        ---> Canonical containerized packages         |
|                                                                       |
|   [2] Flatpak Files     ---> Sandboxed apps via Flathub ecosystem     |
|                                                                       |
|   [3] AppImage Files    ---> Portable standalone executable files     |
|                                                                       |
+-----------------------------------------------------------------------+
1. Snap Packages (Ubuntu & Snap-Enabled Distros)
Snap is developed by Canonical (creators of Ubuntu). To install a Snap package:
# Command structure
sudo snap install package-name

# Example: Installing Spotify
sudo snap install spotify
2. Flatpak Packages (Flathub)
Flatpak provides sandboxed desktop applications from Flathub.
# Step 1: Add Flathub repository (if not enabled)
flatpak remote-add --if-not-exists flathub https://dl.flathub.org/repo/flathub.flatpakrepo

# Step 2: Install an application
flatpak install flathub org.videolan.VLC
3. AppImage (Portable Executables)
An AppImage does not install permanent system files. It functions like a portable Windows .exe file.
-
Download the
.AppImagefile from the software site. -
Open terminal and make the file executable:
Bashchmod +x application-name.AppImage -
Run the application directly by double-clicking it in your File Manager or executing it in terminal:
Bash./application-name.AppImage
Method 5: Compiling Software from Source Code (Advanced)
When software is unavailable in repositories or pre-compiled packages, you can compile it directly from source code archives (.tar.gz or .tar.bz2).
Step 1: Install Build Tools
Install compilation toolchains (like gcc, make, and cmake):
# Ubuntu/Debian
sudo apt install build-essential

# Fedora
sudo dnf groupinstall "Development Tools"
Step 2: Extract and Build Source Code
-
Extract the tarball archive:
Bashtar -xvf software-source.tar.gz cd software-source -
Follow standard compilation steps:
Bash./configure make sudo make install
Essential Post-Installation Maintenance Practices
To keep your Linux software environment healthy, secure, and organized:
-
Keep Software Updated Regularly:
-
APT:
sudo apt update && sudo apt upgrade -
DNF:
sudo apt upgrade/sudo dnf upgrade -
Flatpak:
flatpak update -
Snap:
sudo snap refresh
-
-
Remove Unused Dependencies: Over time, unneeded software packages accumulate. Clean them using:
-
Debian/Ubuntu:
sudo apt autoremove -
Fedora:
sudo dnf autoremove
-
-
Uninstalling Software Properly:
-
APT:
sudo apt remove application-name -
Flatpak:
flatpak uninstall application-name -
Snap:
sudo snap remove application-name
-
Troubleshooting Common Linux Software Setup Issues
| Error / Issue | Probable Cause | Quick Solution |
| “Permission Denied” | Missing administrative rights. | Prepend your terminal command with sudo and enter your account password. |
| “Could not get lock /var/lib/dpkg/lock” | Another package manager process is running in the background. | Close software store managers or wait a minute for background update checks to finish. |
| “Dependency is not satisfiable” | System lacks necessary libraries for manual .deb/.rpm file. |
Run sudo apt --fix-broken install on Ubuntu/Debian to auto-download missing dependencies. |
| AppImage Won’t Open | Executable permission flag is disabled. | Right-click the file > Properties > Permissions > Check “Allow executing file as program”. |
Conclusion
Installing applications on the Linux operating system offers unrivaled control and flexibility. Beginner users can rely on visual Software Centers, intermediate users can leverage powerful CLI package managers (apt, dnf, pacman), and universal solutions like Flatpak and AppImage ensure software runs reliably across any Linux environment.
Penulis: W.S







Post Comment